Create an OTP service in Node Js Part 2
Make a fully functional NodeJs server for sending and verifying OTP part 2


Hello guys, 👋
Its great to have you continue from where we left off in our previous article. If you haven't read that, i strongly advice you go check it out here.
Recap of part 1
We had setup our server, it was running perfectly and if you check it out in the browser, you should see this

if you feel lost along the way, you can check out the git repositiory
What are we doing today?
Well, calm down, don't rush. We will create our database to store and retrieve user information along side our OTPs.
i will assume you have knowledge on setting up a mongodb database.
LeTs RoLl 😎
Installing dependencies
The package we will be installing today is
mongoose mongoose makes it easier to work with mongoDB
yarn add mongoose
Creating a connection to the database
I am using mongoDB compass and will be connecting to mongoose on my local machine. Even though you use an actual URI from mongoDB atlas you're still good to go.
In your .env file, add your mongoDB URI
MONGOOSE_URI = mongodb://localhost:27017/otp-service
create a utils folder inside src folder and add a connection.ts file inside it.
your directory should look like this
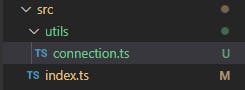
add this inside the connection.ts file
// src > utils > connection.ts
import mongoose from "mongoose";
export function connect() {
  mongoose.connect(process.env.MONGOOSE_URI as string, () => {
    console.log("mongoDB connected sucessfully");
  });
}
we are importing the mongoose package and creating a connection to our database using the connect function. We pass a callback function to the connect function which fires when a connection has been established sucessfully.
Import the call the connect function from connection.ts inside index.ts
our index.ts file should look like this
// src > index.ts
import express, { Response, Request } from "express";
import dotenv from "dotenv";
import cors from "cors";
import { connect } from "./utils/connection";

const app = express();
dotenv.config();
app.use(cors());
app.use(express.json());

connect();

app.listen(process.env.PORT, () => {
  console.log(`Server is running on port ${process.env.PORT}`);
});

app.get("/", (req: Request, res: Response) => {
  return res.send("⚡⚡⚡Server is up and running⚡⚡⚡");
});
start your server and if everything went well, we should see this in our console
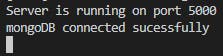
we can proceed
Creating our models
We will be setting up two models for users and otp
inside the src folder, create a new folder models. inside the models folder, create two new files user.ts and otp.ts
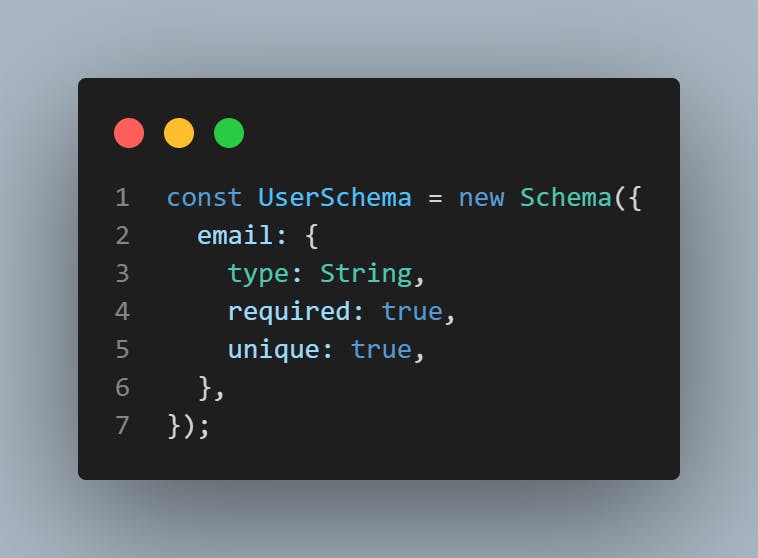
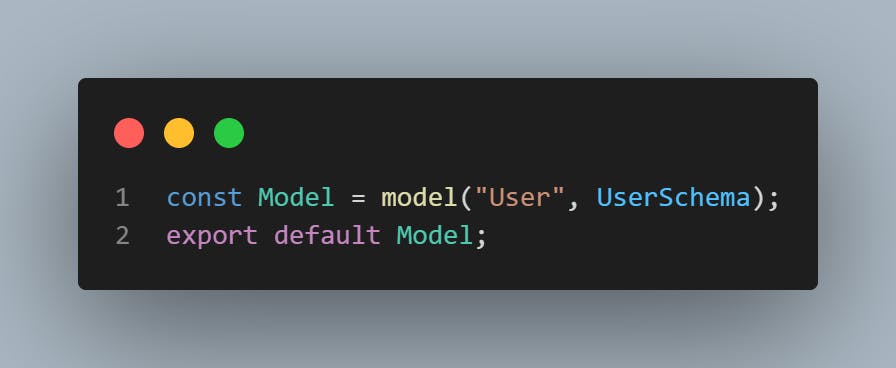
inside the user.ts file add the following code
// src > models > user.ts
import { model, Schema } from "mongoose";

const UserSchema = new Schema({
  email: {
    type: String,
    required: true,
    unique: true,
  },
});

const Model = model("User", UserSchema);
export default Model;
the Schema constructor is used to create a schema for a document (mongoDB is a non-relational database and stores data as objects also called documents in mongoDB).
the model is a function used to compile a Model. and the compiled model is a constructor whose instance is a document. the Model makes it easy to read and write to mongoDB.
inside the otp.ts file, add the following lines of code
// src > models > otp.ts
import { model, Schema } from "mongoose";

const OtpSchema = new Schema({
  otp: {
    type: String,
    required: true,
  },
  owner_email: {
    type: String,
    required: true,
  },
});

const Model = model("OTP", OtpSchema);
export default Model;
Adding types to our server
To take advantage of typescript in our project, we need to add types to our project. To begin, lets create a folder called interfaces in the src folder. inside that folder, we create three files otp.ts, user.ts and index.ts
inside the user.ts file, add the following lines of code
// src > interfaces > user.ts

import { Document } from "mongoose";
interface BaseUser {
  email: string;
}

interface User extends Document, BaseUser {}

export type { User };
inside the otp.ts file, add the following lines of code
// src > interfaces > otp.ts

import { Document } from "mongoose";
interface BaseOtp {
  otp: string;
  owner_email: string;
}

interface Otp extends Document, BaseOtp {}

export type { Otp };
inside the index.ts file, add the following
export * from "./otp";
export * from "./user";
The Schema constructor is actually a generic; this means we can specify the types to be used internally. to use the types we just defined, we need to import the specific type into its model file.
Add the following into user model file
import { User } from "../interfaces";

const UserSchema = new Schema<User>({
these lines of code added/updated in the otp model file
import { Otp } from "../interfaces";

const OtpSchema = new Schema<Otp>({
Summary
So far, we have been able to create a connection to our database, model the user and otp documents and add types to our app
What next?
In the part 3 of this series, we will create the services and controllers we need to make our app work.